
Survival
Savannah Life survival mechanics explained: hunger and thirst management, stamina during chases, weather hazards and how to survive the rare Blood Moon event.
Introduction
Everything in Savannah Life ultimately reduces to survival mechanics: two draining bars, one stamina pool and a map full of things that want to end your run. Hunger falls constantly and is refilled by eating with R near grass or meat; thirst falls faster in the heat and is refilled by drinking with Q near puddles or rivers; and when either bar empties, health and stamina begin to drain until you collapse. Layered on top are the systems that make each server session unpredictable — sprinting burns stamina that chases and escapes both depend on, weather events like thunderstorms and lightning strikes punish exposed animals, and a full day and night cycle changes which predators hold the advantage. This hub explains each system, the badge trail that rewards mastering them, and the habits that separate animals that thrive from animals that respawn.
Survival Systems Quick Reference
| System | Trigger | Player Action | Failure Penalty |
|---|---|---|---|
| Hunger | Drains constantly | Eat with R near grass or meat | Health and stamina drain |
| Thirst | Drains faster in heat | Drink with Q near puddles or rivers | Health and stamina drain |
| Stamina | Sprinting and chases | Manage sprint bursts and escapes | Lost fights and lost escapes |
| Weather Events | Thunderstorms and lightning | Seek cover until the storm passes | Storm damage and exposure |
| Day / Night Cycle | Full in-game cycle | Adapt routes to low-visibility nights | Predator advantage after dark |
Survival System Cards
Hunger & Thirst
The two bars that decide every run's length.
Stamina Management
The shared currency of every chase and escape.
Weather Events
Thunderstorms, lightning and the Storm Survivor badge.
Day / Night Cycle
How the full day and night cycle changes the savannah.
Blood Moon
The rarest server event with an Insane-tier badge.
Core Mechanics
The survival loop is elegantly brutal. Hunger and thirst drain in real time, and the only refills are eating with R and drinking with Q — which forces movement toward food and water, which is exactly where predators wait. Stamina is the shared currency of every chase: sprinting empties it fast, and an exhausted animal loses fights it could otherwise win and escapes it could otherwise make. Health regenerates when the bars are stable, so the recovery loop always runs through food and water first. Weather overlays risk on top: thunderstorms roll across the server with lightning that strikes exposed animals, and the day-night cycle shifts vision and hunting patterns after dark. The badge system measures mastery of all of it — Storm Survivor for weathering a full storm, Night Survivor for living through a complete night, and the rare Blood Moon badge for surviving the game's most dangerous event.
Advantages
Players who internalize the survival systems stop dying to preventable causes. Bar management is the first unlock: topping hunger and thirst before traveling costs seconds and prevents the health drain that turns minor encounters fatal. Stamina discipline is the second — players who sprint only when it matters win the chases that grant coins and escape the ambushes that end sessions. Weather awareness converts the scariest events into badge opportunities: a Storm Survivor run is simply a player who found cover early. And because survival time feeds both growth and coin progression, every improvement to your survival consistency compounds into faster unlocks. The systems reward knowledge permanently — nothing about the eat-drink loop changes with updates.
Challenges
Survival mechanics also create the game's frustration spikes. The bars drain even during roleplay and socializing, so AFK-adjacent playstyles pay a constant tax. Water access is geographic — spawns far from safe drinking spots run thirst risk that no skill can offset, and the safest water sources are exactly where crocodiles hunt. Weather events arrive on server timing rather than player convenience, interrupting grinding routes mid-session. Night vision limitations make after-dark travel genuinely dangerous for herbivores, and the Blood Moon's rarity means most players experience it unprepared. Some mechanics — precise drain rates, exact storm damage — remain community-estimated rather than officially documented, so guides carry approximation error.
Frequently Asked Questions
What do the R and Q keys do in Savannah Life?+
How do I survive the Blood Moon event?+
How does stamina work during chases?+
Quick Tips
Drink before you are thirsty, not after. Thirst drains faster during heat and travel, and the safe water sources are geographically fixed across the map — so plan your routes between drinking spots the way you would plan a road trip between fuel stations. Running the last stretch on an empty bar invites exactly one ending.
Scan every river bank for a full ten seconds before drinking. The Nile Crocodile's underwater grab is the most common death for mid-growth animals, and it always begins with a player who walked straight to the water's edge without looking. Ten seconds of patience is the cheapest life insurance in the entire game.
Treat storms as badge opportunities rather than annoying interruptions. Storm Survivor requires weathering a full thunderstorm from start to finish, and players who find cover early and simply wait it out bank the badge while everyone else runs around dying to lightning strikes. Weather awareness turns the scariest event into free progression.
Learn how the night cycle shifts hunting. Predators gain a real advantage after dark, so herbivore players should complete long travels during daylight and use night hours for safe-zone grinding near herd activity. Predators should reverse that schedule entirely — the same hours that endanger prey are their prime time. Survival consistency is the real progression system underneath every other system in the game.
Featured
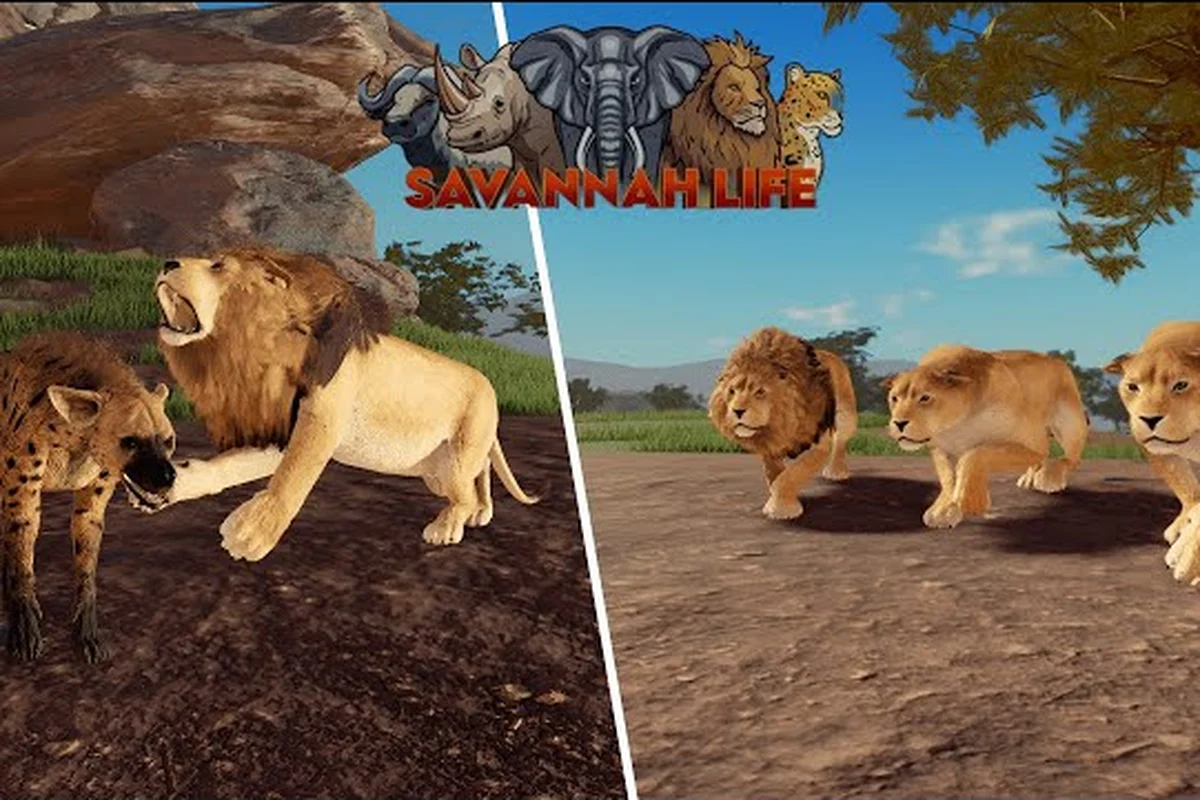
Savannah Life Hunting Guide: Attack, Fight, and Kill Prey
Learn the Savannah Life hunting guide basics from attack timing to combat combos, so PvP fights and prey kills become consistent wins in the savannah.
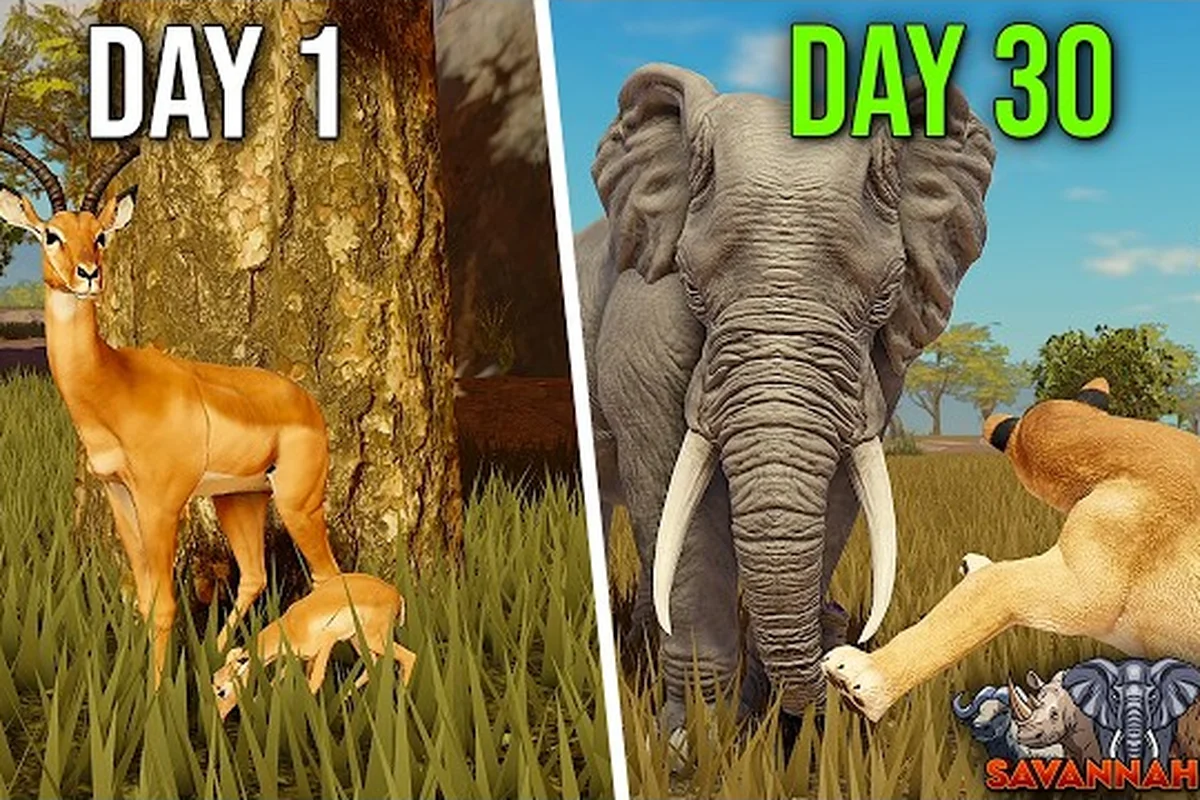
Savannah Life Survival Guide: Eat, Drink, and Regen Health
Master Savannah Life survival basics with clear steps to eat, drink water, and regen health so your creature stays alive through every stretch of the savannah.
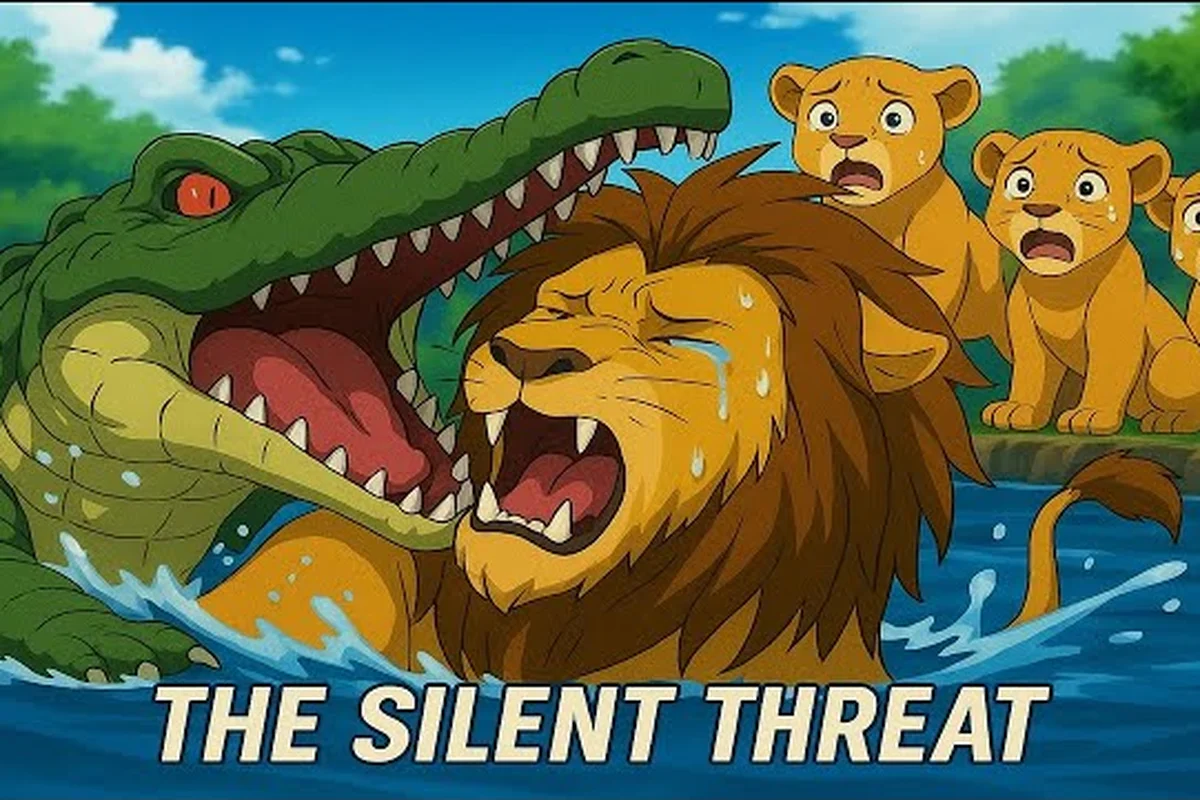
Savannah Life Ambush Guide: Chase Mechanics & Hunger Tips
Win chases with the Savannah Life ambush guide — learn how chase mechanics work, when to strike, and how to manage hunger and thirst mid-hunt.
All Articles
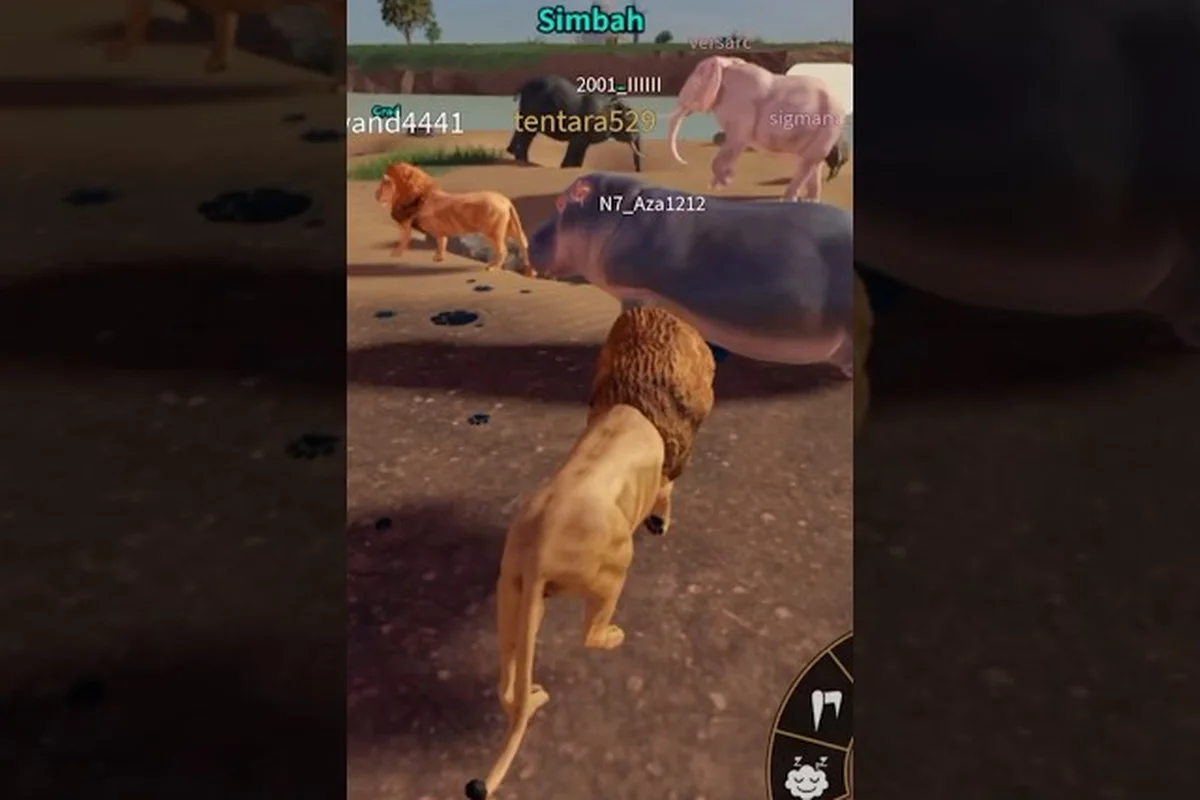
Savannah Life Day and Night Cycle: Blood Moon & Weather Guide
Survive the Savannah Life day and night cycle with tips on the blood moon event, hunting in daylight, and staying alive when dangerous weather hits the savannah.
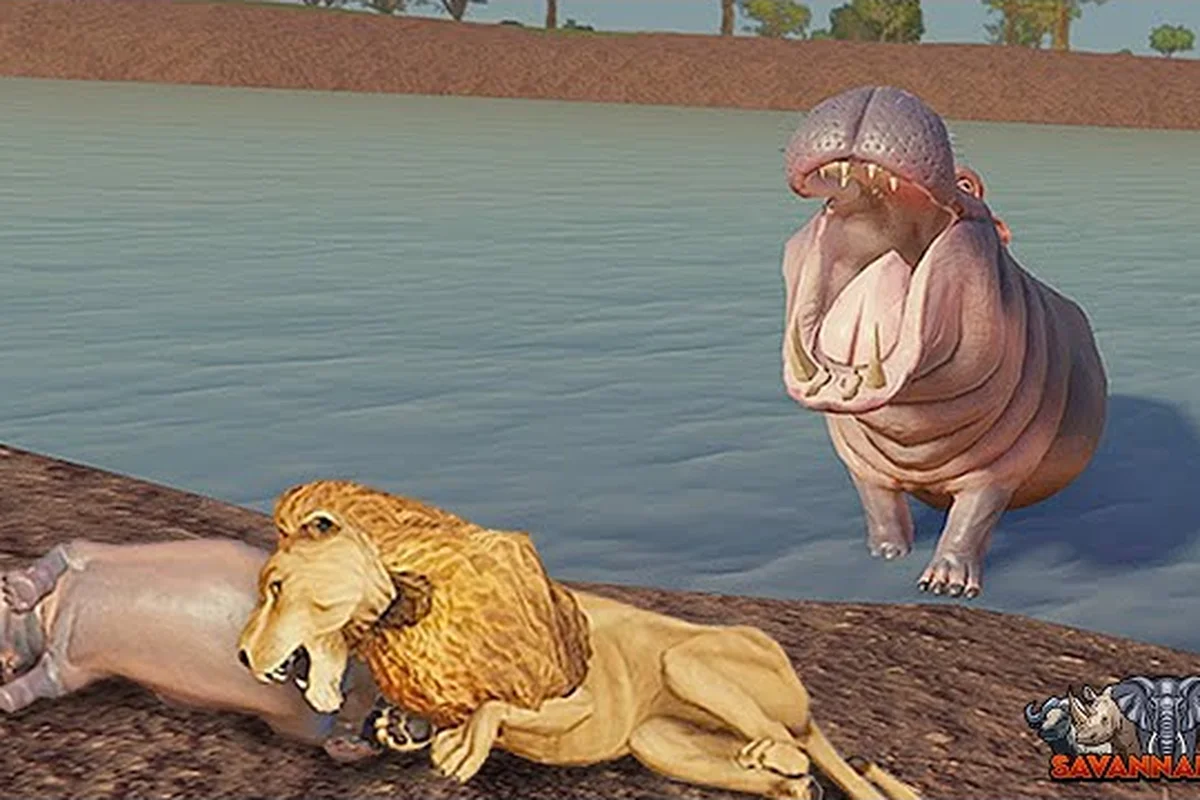
Savannah Life NPC Animals: Prey, Predators, and Death Rules
Meet every Savannah Life NPC animal, learn which predators to escape, and understand what happens when you die to earn the predator escape badge.

Savannah Life Survivor Badges: 100 Hours & Night Survival
Earn Savannah Life survivor badges with a roadmap to the 100 hours milestone, safest zones, and the stalking dangers every night brings in Roblox.
Savannah Life Health: Stamina, Thunderstorm & Respawn Tips
Keep your Savannah Life health topped up by managing stamina, dodging lightning in thunderstorms, and respawning smart after AI animal attacks in Roblox.